 I have seen tons of cute holders out there, but some of them are well over $40 and don't quite serve the purposes I need them for. So, being the insomniac that I am I came up with this nifty little number that cost about $10 (assuming you have some basics).
Materials:
- $1 wooden frame (from craft store)
- Modge Podge
- Xacto knife
- Hot glue/glue gun
- decorative paper (12x12 or [2] 8.5 x 11)
- grossgrain ribbon in 2 widths (9 yards each)
- sewing machine (and thread)
- pushpins
- *other decorative items
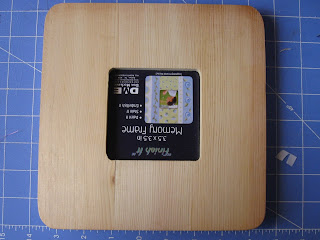
- Make sure your wooden frame has the hole (where the peg would go) at the top. This means it is essentially upside down

2. Paint your frames edges and center in a color to match your chosen paper. There is no need to paint the back or front since they won't be seen

 3. Cut your paper to size (in this case 8x8"). Coat your frame with Mod Podge and smooth paper with a credit card or other smoothing device (I used a handy metal bookmark).


4. Cut the excess out of the middle and from around the edges with your exacto knife (yes, there is velcro on the back of this frame already, but that will be in Part II). Go over the surface with at least one coat of Mod Podge to seal. Let it dry (takes 30 minutes or so for 2 coats).

5. Cover the center of your frame with a pieve of the leftover paper

6. Insert the center back into the frame.

7. Attach your pushpins and chipboard letters to the frame. The pushpins can be used to bracelets or necklaces or elastic/knit headbands (add as many as you like/need).

8. Add the rest of your decorative elements (like a daisy and rhintestones).
Please come back tomorrow to learn how to attach your sunglass and headband/bow holders.!


No comments:
Post a Comment